Thursday, May 6, 2010

HUNGRY PIGGY PIGGY BANK

Hey everyone,

I've got a really awesome craft for you and your little ones to create.  I LOVE this one--it's one of my favorites.  It's a little complicated, but do not let that scare you away from this one.  It's well worth the extra effort!!!


On delightfullyfunandwhimsical.com, you may have read about the poem about the piggy who learns to not over-indulge.  The poem is called "Too Much, Way Too Much," and Piggy has a hurting tummy from too many goodies.  Kids won't have to hold back on saving coins in this silly looking bank!

Here's how it goes:

You will need:

  • 4 thread spools of the same size (use recycled ones, or purchase new ones in the wooden craft section of Michaels) 
  • Paint (I used red, use any color you choose)
  • Recycled plastic bottle (I used large a V-8 bottle with a red cap)
  • Wiggly eyes
  • Glue (hot glue or another glue that works well on plastic)
  • Craft knife (for adult use only please)
  • Pipe Cleaner
  • Colored paper (for ears & nostrils)  Something heavier than construction paper
  • Scissors and hole puncher
Wash the bottle and all it to dry.  Cut a slit for the coins, making sure it's large enough for a quarter to fit through.  Be very, very careful.  Adults only on this part.  The slit becomes the top center of the bank. 


For the ears, cut 2 slits (about 3/4" each) toward the nose of the bottle.  Be sure they are spaced evenly on either side of the coin slit.

Paint the spools.  Set aside to dry. 


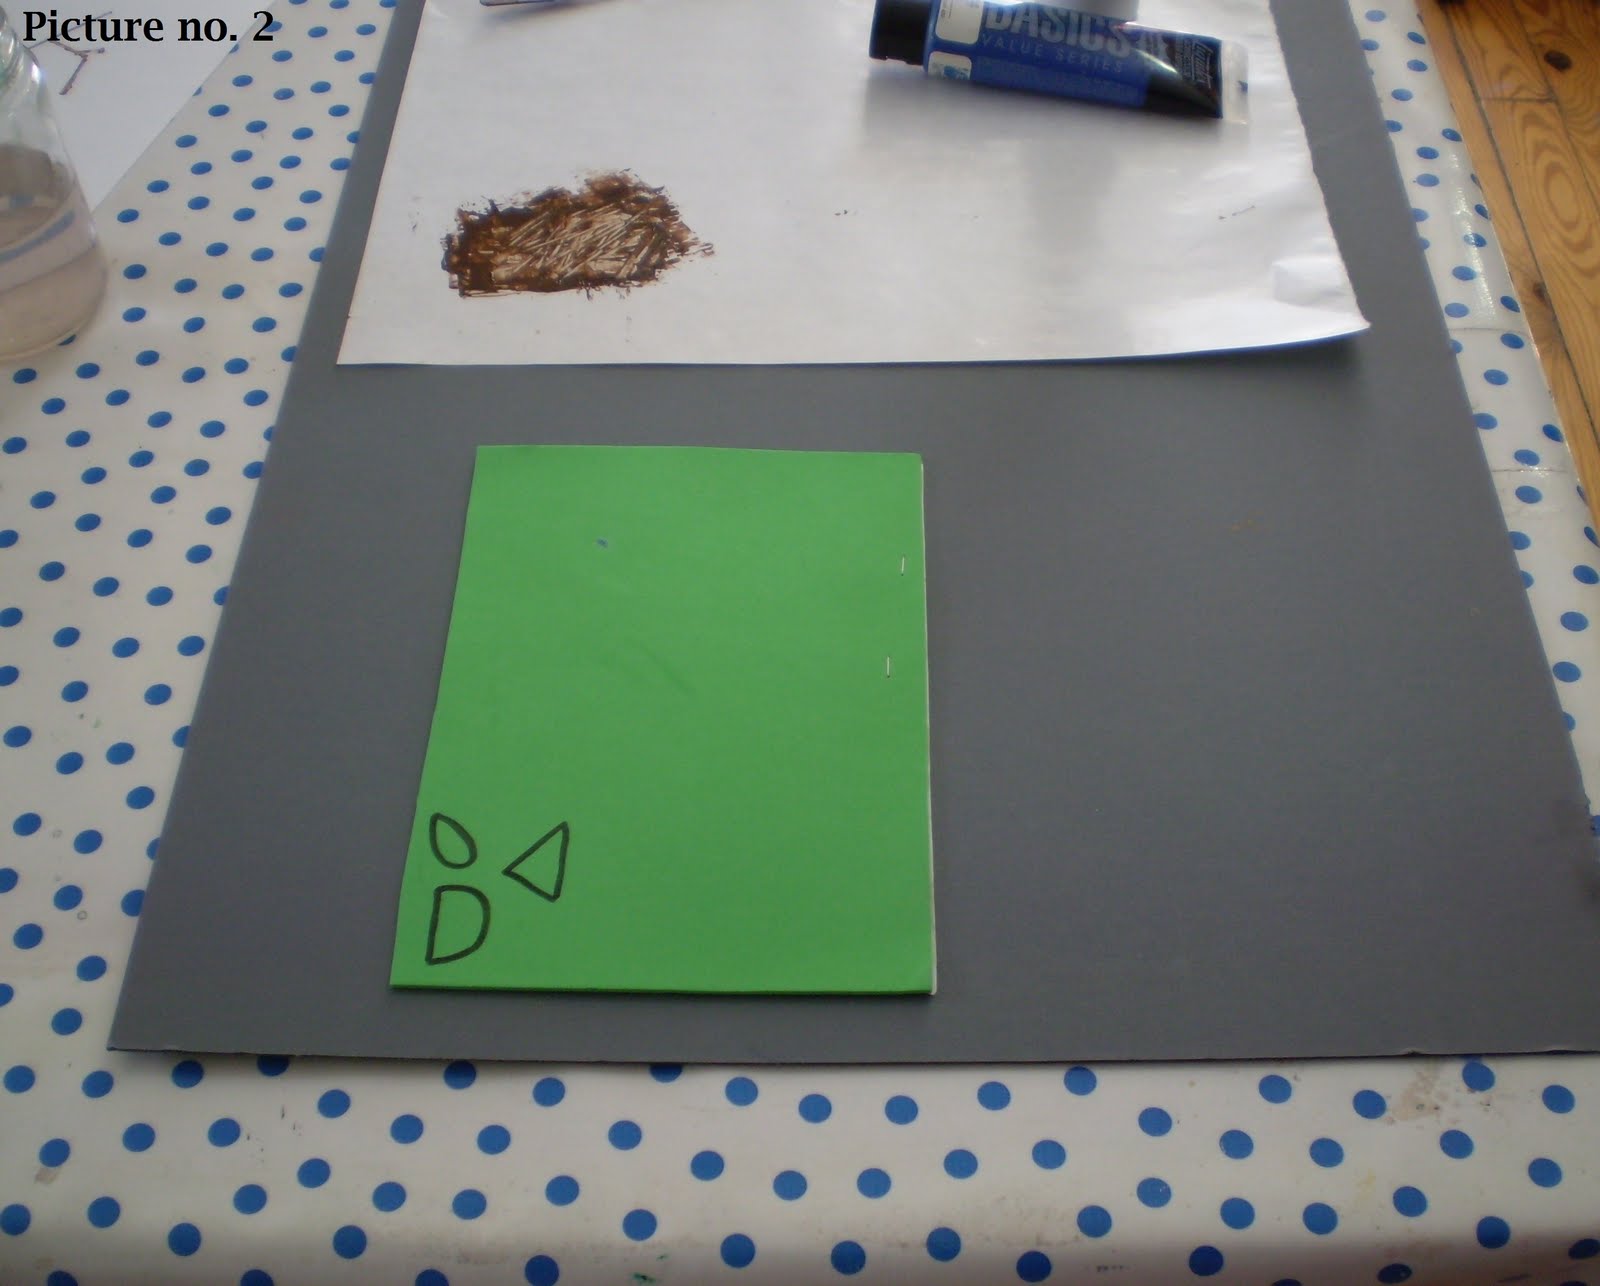
Check-out the pic of the painted spools and the things that look like fish.  Those are the ears.  Cut paper ears, making sure that they will fit through the 3/4" slit.  The part that looks like the fish's tail is the part that gets inserted through the 3/4" slit.  Fold the sides in toward the center before inserting.  The folded parts go toward the rear of the pig.

Cut a small x into the body for the tail.  Wrap a pipe cleaner around a pencil to make it curl.  Fold over about 1/4" at one end and insert it into the x slit.


Glue feet (spools) to bottom.  Replace the bottle cap.  Use a hole punch to cut 2 small circles for the nostrils.  Glue them to cap.  Glue on wiggly eyes.

Start saving!!!!!!!!!!!!!!

See you soon.  I have an idea for my next blog already!!!!!!!!!!

Tuesday, April 20, 2010

Colorful Bird Printing

Okay everyone, Get ready for messy paint fingers!  Thank goodness for smocks, soap and water!!

Two of the paintings on my website, delightfullyfunandwhimsical.com, include birds.  Of course, "Flitter and Flutter", with its orange birds whose airborn movements are determined by their mood, are an inspiration for this art project.  And "In The Shade," resting blue bird sits and awaits, cooling herself before taking off, once again, to flight!   And then, spring has most definately brought all sorts of birds back to my yard.  I hear the morning tweeting of birds as I'm writing this.

The printing of these birds is fun and easy.  No drawing skills required here.  In fact, this project shows how three simple simple shapes used togther create the form of the bird. 


So, let's begin!

You will need:
Paper for your printing, marker, 1 sheet of craft foam, small piece of stiff cardboard or matboard, glue, scissors, waxed paper or paper palette, acrylic paints (either artist's tubes or the inexpensive small bottles),  palette knife or paint  brush.

For the bird, begin by drawing the a small triangle, a half circle and a teardrop on the foam. The half circle is the bird's body, the triangle is the tail and the teardrop makes it's head. Help the child to keep proportions of these shapes within reason to each other and to the size of the tree. Cut shapes out and glue each onto a piece of cardboard. While glue is drying, work on printing the tree.


On the waxed paper or paper palette, squeeze-out some brown paint.  Spread out a bit.  Using the edge of the cardboard/matboard, dip the edge into the paint.  Transfer the paint onto your paper, building a tree by repeating this process.  See Picture no. 1.  It's always a good idea to practice the technique on a scrap paper. 


Now, let's print some birds.  Squeeze out some other colors of the child's choice onto the palette.  Yellow, red, blue, violet, orange, whatever.  With brush, dab colors into body (half-circle).  Try not to mix colors too much, as they will mix somewhat when pressed onto paper.  Next do head and tail.  Make bird's heads point in different directions.  


Now the masterpiece is complete!  Don't stop at one.  Makes lots and lots!  And don't worry about little bits of paint that get transfered from fingers onto paper.  That's part of the charm!  Happy birdwatching! 

Sunday, April 18, 2010

My Brain is Buzzing with SOOOOOOOOO Many Thoughts and Ideas

Hi everyone.  Last weekend I attended a Society of Children's Writers and Illustrators conference.  Why, you may be wondering?  The poetry and paintings on my new website, delightfullyfunandwhimsical.com, will be part of a book that I am hoping (actually, working my tail off!) to have published.  I believe that I have something good and inspiring and positive to say to kids, and I want to do just that!!!  Until that time when a publisher says, YES DENISE, I will publish your book because it is so fabulous, to which I will reply, yes it is, isn't it!, I'm happy to have kids know my work through my really wonderful, easy to use website!  By the way, I checked with my two greatest nieces, Lexie and Rachel, to see their responses to the poems and paintings, and I got two thumbs-up!! (or should I say, four thumbs-up!!)  Thanks greatest nieces!!

I met so many really wonderful published and unpublished children's authors and illustrators at the conference.  SOOO inspiring!  I took a double workshop with author/illustrator Judy Schachner, writer of the Skippyjon Jones series.  She is as fun and Skippyjon Johns himself.  If you are don't know her work, or even if you do, go get one of her Skippyjon Jones books and read it.  Then read it again pretending that you are 7 years old!!  Just amazing! 

So now my brain is so full of ideas for new poetry, paintings, and even a full-lenth story.  My creative/crazy brain doesn't quite know what to do with all of this new stimuli!  I'll figure it out.  But in the meantime, I think it's time for a new art/craft project.  Hm, what shall it be?

Friday, February 12, 2010

Snail and Felt Bead Jewelry Project


I really hope you'll try this project. It involved using craft store purchased felt, the ones that cost about 29 cents at Michael's, and wooden beads, also very inexpensive. BUT, if you'd like to upgrade this project, you can purchase real wool felt (available online and at Joanne Fabrics) and use nicer beads. If you're really ambitious, wash old wool sweater to shrink them, them cut them up and use for the felt beads.


Okay, so here's how it works!


FELT BEAD NECKLACE

You will need: Felt pieces in various colors, really sharp needle, embroidery thread (color of your choice), rubber bands, wooden or other beads (make sure that the needle and thread will fit through hole in the bead.)

Cut three small rectangles of felt, each one a different color. (See photo) Beginning on the long end of the rectangle, roll up and trim off any of the underneath ends that are hanging out. The outer layer of felt should only be seen. Then place a rubber band close to each end to hold spiral together. See photo. (This is the part that looks like a snail!)

Little ones may need help here. Threat a really sharp needle with embroidery thread (about 30") push needle through tube, close to where the roll begins. Pull through, leaving about 12" of thread. Put a knot on the outside side of the tube. (See photo) Slide rubber band down toward the center of the tube and cut-off your first bead. (See photo) Be careful to not cut string during this process. You can add a wooden bead, as I did, between belt beads if you like. Continue until you are satisfied with the number of beads on the necklace. After adding last bead, place another knot next to it, keeping beads secure on string. Decide on length of necklace and tie ends together. (See photo)
I've also done a second version, as you see in the photos.

Remember to be like snail as you're doing this project. You must persist! And when you're finished you'll say, GOOD JOB!!


Snail


So, at the very end of my last post, I referred to my painting of a snail and it's accompanying poem, I'll Try, I'll Try. Here you'll see the poem and it's illustration. Enjoy, then go on the the next post for a snail related jewelry project. See you there.


I'LL TRY, I'LL TRY


Hard as it is, I’ll try, I’ll try.
Snails must persist, so I’ll keep my hopes high.

I’ll work and plan and scheme and prepare,
And I’ll wiggle and crawl until I get there.

And when I do I’ll shout yahoo and hup-hup,
And be proud of my self for not giving up!

(GOOD JOB!!!)


Wednesday, February 10, 2010

COOL FLOWERS MADE FROM RECYCLED PLASTIC MILK JUGS AND OTHER PLASTIC CONTAINERS


It's a beautiful snowy day, parents and kids home from work and school. What a great day to have some craft time with the kids!! You will be recycling plastic milk jugs, deli containers and other plastics to make these really awsome flowers. This is my first craft post. Let me know if there is some part of the directions that need clarification. I'll try my best!


Since flowers are a reoccuring theme in my amazingly fun, delightfully whimsical paintings, I thought it would be fun to make some in 3-D. Don't forget, you can see more paintings at artatdragonhill.com.


This is definately a project that needs adult help, but isn't that part of the fun, working with your child, grandchild, or in my case, incredible greatest nieces?


You will need: Washed milk jug, deli container and/or other plastic container,


Thin-point permanent marker,Acrylic paints, water container for rinsing brushes and brushes, Kraft Knife (for adult use only) and scissors,Wooden dowel or something else sturdy and thin to be used as a stem,Floral tape, piece of ribbon, pencil with new eraser end.


Remove labels and dry plastic. With the permanent marker, draw three flower shapes onto plastic, small, medium and large. (My largest flower shape is 7" dia.)


Also draw two leaf shapes with a tab that can be tucked under the floral tape when being attached to stem. In addition, draw a 1" circle to be used as the center of the flower.


ADULT HELP NEED HERE: Using craft knife or scissors, cut the shapes off of the containers. Cut an X into the center of each flower piece so it can be slipped onto the dowel. Now you can give the shapes to your child to finish the cutting with scissors.


Now comes the fun part!! Using acrylic paints, paint each of the pedal pieces a different color. TIP: The paints may be pretty transparent. Use a dab of white mixed in with each color with make it more opaque and give better coverage.


You can also add a decorative element to the pedals. I used the pencil eraser to "stamp" red paint dots onto the yellow pedals. Allow to dry completely before putting on the stem.


Slide the largest flower piece onto the dowel, next the medium and then the small. Tie the ribbon around the stem under the flower pedals. Wrap a piece of floral tape around the stem under the large pedal. Wrap several times around the dowel to keep the pedals from sliding down the dowel. Now begin wrapping tape diabonally down the stem, stretching as you go. Add leaves were desired by slipping the tabs under the tape and reinforcing with an extra round or two of tape.


Glue the round piece on top end of the dowel (I actually had a cute button that I used instead.)


This seems way more complicated that it really is! The hard part of waiting for the paint to dry!! Place your flower in a glass vase or jar and enjoy.


Okay, last but not least, I can see that I need to learn how to add images so that they have a logical order! Like snail says, I"LL TRY, I'LL TRY.


Monday, February 8, 2010

New Work, New Website and New ME!

Hi All,


We'll, it's been an entire year in the making. My website, artatdragoarnhill.com, will have a new look shortly. Look for it in about 10 days. So let me tell you about what I've been up to. The site contains fun, whimsical and vibrantly-colored paintings, AND I've also written a poem to accompany each of the paintings. Each of the poems has been inspired by a quotation by a famous, not so famous or unknown person. The painting/poem combinations are meant to inspire kids to be the best that they can be. There is also a section on the site where you'll find "activities," aka "more fun." In this area you'll find questions and activities regarding each of the poems/paintings. Most of the questions are designed to have no right or wrong answers. They are meant to help kids think a bit more about the painting and the poetry and add more enjoyment. There are currently 10 paintings/poems/activities on the website. Check back occasionally for additions.


I want to tell you that I LOVE creating these paintings and poems. My dream is to have a book containing these and more pages published. It's kind of scary and it'll be lots of hard work, but if I want the kids who read my poetry and look at my illustrations to believe in themselves, I need to heed my own advise!!


I'll be using this blog as a place where you can find lots of art projects and craft projects for kids. Some will be related to the poetry and paintings on my website. Others won't be related, but I'll include them because they will be fun, fun, fun for kids to do.

Okay, so here it is Feb. 13th and I just realized I only drafted this post, it never published! Oh well, those of you who know me know that that's ME! Here it is.


.